
TL;DR
Placing your rig in a closet can cut noise drastically, but proper treatment and ventilation are essential. Focus on mic placement and sealing gaps to get the best sound and cooling. It’s a game changer for small-space setups.
Ever wondered how some creators make tiny closets sound like professional studios? It’s not magic. It’s smart placement, strategic dampening, and ventilation. The truth? Your closet can become a noise-free zone, but only if you understand what truly matters.
This guide cuts through the hype and reveals what makes a closet setup work — from where to put absorption panels, how to block sound leaks, and the secret to keeping your gear cool. If you’re serious about turning a small space into your personal recording or inference hub, keep reading.
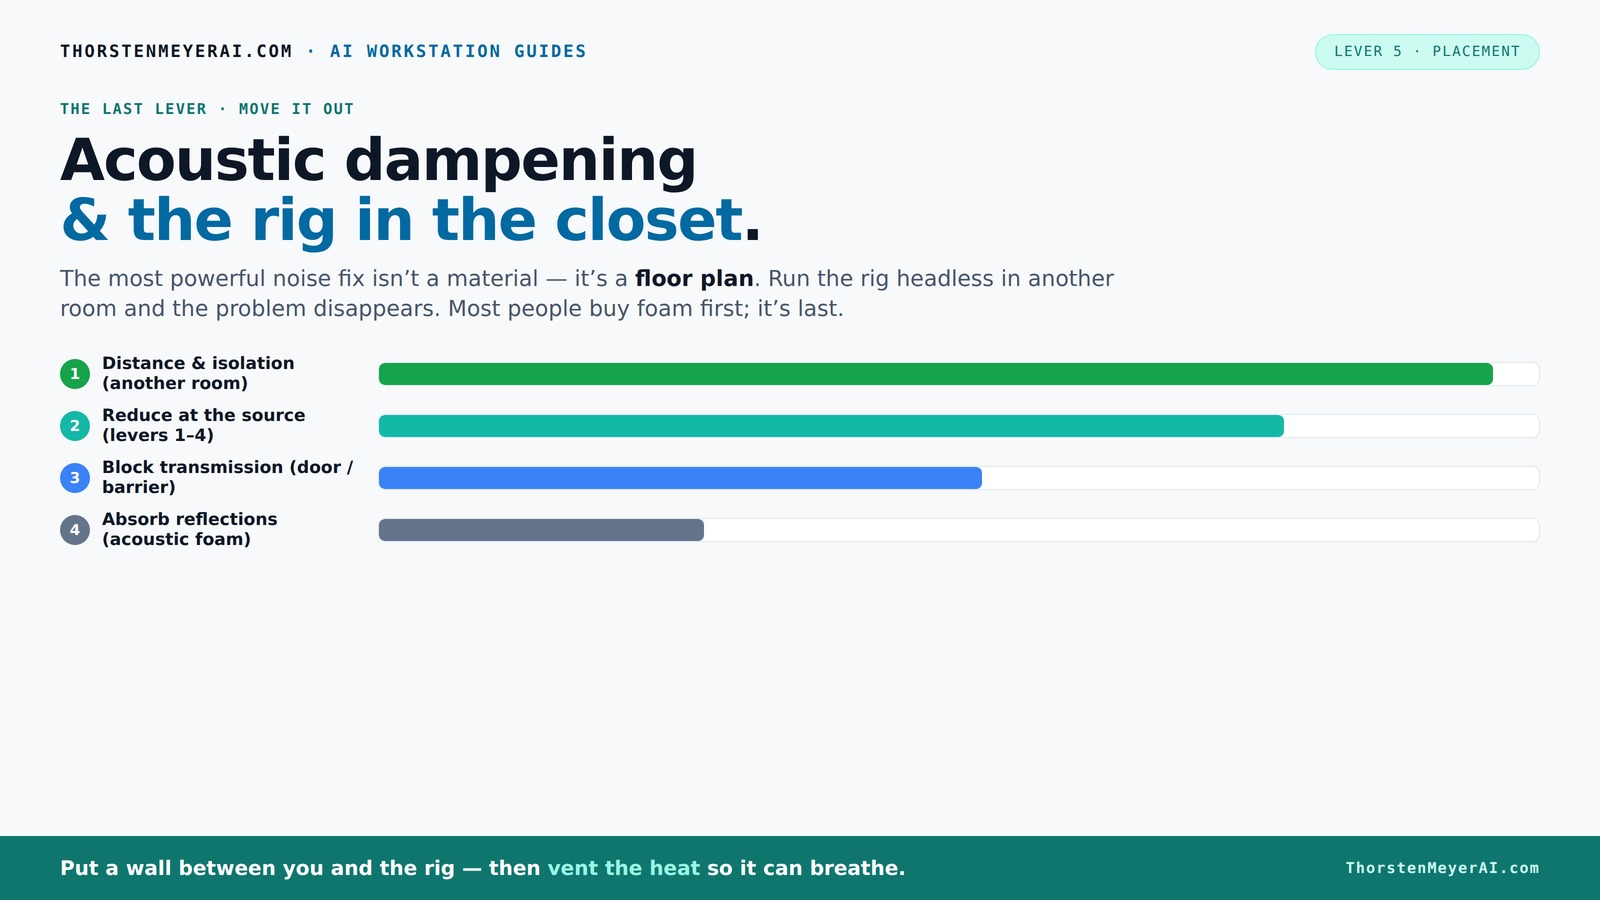
Acoustic dampening
& the rig in the closet.
The most powerful noise fix isn’t a material — it’s a floor plan. A rig you can’t hear because it’s in another room beats any amount of foam. Tap the approaches in Part 1 to see what actually works.
(another room)
(levers 1–4)
(door / barrier)
(acoustic foam)
Contain the noise, not the heat
Key Takeaways
- Placing your rig in a different room or closet can drastically reduce noise and reflections, making your workspace quieter and cleaner.
- Treat the closest reflective surfaces—walls, ceiling, and floor—to improve sound quality inside your closet booth.
- Sealing gaps and adding mass are essential for actual soundproofing, while absorption materials improve internal acoustics.
- Ventilation is critical: a sealed closet traps heat, risking overheating and equipment damage. Always include airflow solutions.
- Bass traps in corners and strategic mic placement enhance clarity, especially in small, reflective spaces.

Focusound 52 Pack Acoustic Foam Panels 1" x 12" x 12" Sound Proof Foam Panles Soundproofing Noise Cancelling Wedge Panels for Home Office Recoding Studio with 300PCS Double-Side Adhesive
Soundproofing - Acoustic foam panels triangular grooves structure for better noise absorption, helps to reduce and absorb unwanted...
As an affiliate, we earn on qualifying purchases.
As an affiliate, we earn on qualifying purchases.
Why Your Closet Can Be the Best Spot — If You Do It Right
Moving your rig into a closet isn’t just about hiding noise; it’s about controlling reflections and minimizing room echo. Small spaces naturally cut down on sound bouncing around, so vocals and delicate signals sound tighter and clearer. Think of it like a mini sound cage.
For example, voice-over artists often turn closets into vocal booths because the confined space reduces reverberation, making their recordings sound professional without expensive acoustic treatments. But beware: a tiny, reflective box can also create bass buildup and boomy sounds if not treated properly.
Here’s the catch: without careful treatment, a closet can turn into a mud pit of low-end chaos or a boxy echo chamber. The trick lies in treating the right surfaces, sealing gaps, and ensuring proper airflow.
microphone isolation shield for recording
As an affiliate, we earn on qualifying purchases.
As an affiliate, we earn on qualifying purchases.
Acoustic Dampening vs. Soundproofing — Why Both Matter (But Are Not the Same)
Acoustic dampening and soundproofing are two sides of the same coin, but they do very different jobs. Dampening reduces internal reflections—think of it as softening the walls so sound doesn’t bounce back and create echo. Soundproofing, on the other hand, blocks sound from escaping or entering.
In a closet, dampening materials like thick blankets, foam panels, and rugs absorb internal reflections, making vocals more focused. Soundproofing involves sealing gaps, adding mass to walls, or using dense materials to prevent sound leaks.
For example, a closet with foam panels can still leak sound through gaps in the door or vents. To truly silence it, you need to seal every crack and add mass with dense materials or specialized soundproof doors. According to soundproofing experts, sealing gaps and adding mass are the most effective ways to block sound transmission, while absorption improves internal sound quality.
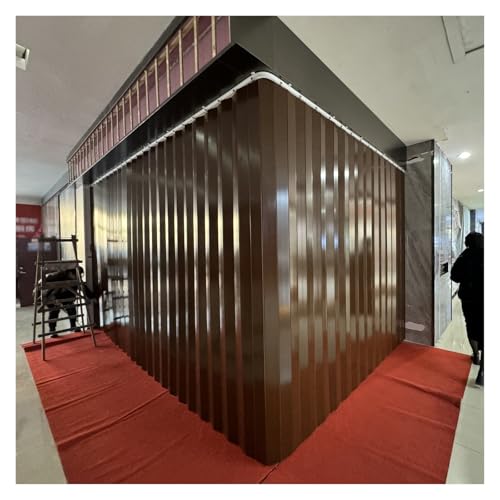
Interior Sliding Closet Concertina Door, Folding Doors Internal Kit 180 200 220 240 Cm Tall, Internal Folding Accordion Door, PVC Sliding Divider Doors with Hardware
PVC Folding Door --- Our this portable accordion folding door is made of PVC, lightweight, lightweight, stable, high...
As an affiliate, we earn on qualifying purchases.
As an affiliate, we earn on qualifying purchases.
Where to Put Absorption Materials for Maximum Effect
Placement of acoustic treatment is crucial in a tiny closet. Start with the primary reflection points — behind the mic and facing any hard, reflective surfaces. For instance, if your mic faces a wall, put absorption directly behind it to catch early reflections.
Next, treat the ceiling and side walls. Soft materials like thick blankets or foam panels absorb flutter echo and reduce boxiness. A good rule of thumb: cover about 30-50% of the surface area, focusing on the most reflective spots.
For example, if your closet has a hard floor, add a rug or thick carpet to cut down on reflections bouncing from the floor. Spacing panels a few inches away from the wall can also improve absorption, according to DIY acoustic experts.

Tjernlund V2D Underaire Crawlspace Ventilator Fan Moisture Reducing 220 CFM
Power ventilates and reduces moisture in crawl spaces through existing passive vents
As an affiliate, we earn on qualifying purchases.
As an affiliate, we earn on qualifying purchases.
How to Treat Low-End Buildup in a Small Closet
Low-end muddiness is common in tiny, reflective spaces. It happens because bass frequencies bounce around and accumulate in corners, creating a boomy, muddy sound. You’ll notice it as a thick, muffled quality in recordings.
To combat this, install bass traps or add absorption in the corners. Thick panels or specialized bass trapping foam can soak up these low frequencies. For small closets, placing bass traps in the corners where walls meet the ceiling is the most effective spot.
For example, a creator found that adding a couple of dense bass traps in the top corners of her closet reduced muddiness significantly, giving her vocals more clarity and punch. Think of it as giving the sound a place to settle instead of letting it bounce endlessly.
Ventilation: The Hidden Key to a Safe, Cool Closet Rig
Placing a powerful, heat-generating machine inside a closet without ventilation is a recipe for disaster. Trapped heat can cook your gear, causing throttling, crashes, or permanent damage. The first step? Make sure your closet can breathe.
Install passive vents or a quiet exhaust fan that pulls hot air out and brings in cooler air. For high-power setups, consider purpose-built soundproof cabinets with temperature-controlled fans. They combine sound dampening with efficient cooling.
For example, a hobbyist used a quiet ducted exhaust to keep his GPU cool in a sealed closet, preventing overheating even during extended runs. The key is balancing soundproofing with airflow, so your system stays safe and silent.
Best Practices for a Noise-Reduced, Cool Closet Setup
Here’s a quick checklist to turn your closet into a quiet, cool sanctuary:
- Seal gaps around the door with weatherstripping or acoustic sealant.
- Use thick blankets, foam, or panels on walls and ceiling where reflections are worst.
- Place bass traps in corners to tame low frequencies.
- Ensure proper ventilation—install a quiet exhaust or duct system.
- Position the mic to face the least reflective surface, and treat that area heavily.
- Keep the space dense but not cramped — more soft material can help, but airflow is key.
Frequently Asked Questions
Is acoustic foam enough for a closet studio?
Acoustic foam helps reduce echo and flutter echo inside the closet, but it won’t block sound from escaping. For true noise isolation, you need sealing, mass addition, and ventilation alongside foam treatment.
Where should I place the microphone in a closet booth?
Place the mic facing the least reflective surface—often away from the door or hard walls—and treat the area behind and around it with absorption materials to minimize early reflections and room coloration.
Do I need bass traps in a small closet?
Yes. Small, reflective spaces tend to cause low-frequency buildup, making vocals sound muddy. Installing bass traps in corners helps tame those frequencies for clearer recordings.
How do I stop sound from leaking through the closet door?
Seal gaps with weatherstripping or acoustic door seals and consider adding a heavy, dense door or a blanket barrier. These steps dramatically cut down on sound leakage.
How much wall coverage is enough for a closet setup?
Covering about 30-50% of the reflective surfaces with thick absorption materials is usually enough to significantly improve sound quality, especially if you focus on the main reflection points near the mic.
Conclusion
Turning a closet into a high-quality, quiet workspace isn’t about magic. It’s about smart placement, proper dampening, and good ventilation. When done right, your tiny space can produce big, professional results—without the noise or chaos.
Remember: the secret isn’t just in absorbing sound — it’s in controlling where it goes and making sure your gear stays cool. So, seal, treat, and ventilate — then enjoy a quiet, focused environment that works for your creative or technical goals.